1. Signing Up to Supersaga
Follow these steps to create and login to your account on Supersaga:
- Open up the Application

- Click “Sign Up” to create an account or “Sign In” to login.
- For new users, enter the sign-up details.
- Check for mail from Supersaga on your provided address.
- Double-check your Spam folder.

- Verify your account by clicking on the link sent.

2. Selecting Your Environment
As per your animation requirements, select an environment from the various given options and wait for it to load up.

You can also select specifically from a subcategory.

Click “Next”.
3. Selecting Your Animation Characters
Similarly, browse the character library and add all characters as per your need.

You may also access them via the specific subcategory menu.
Hit “Next” once you’re done.

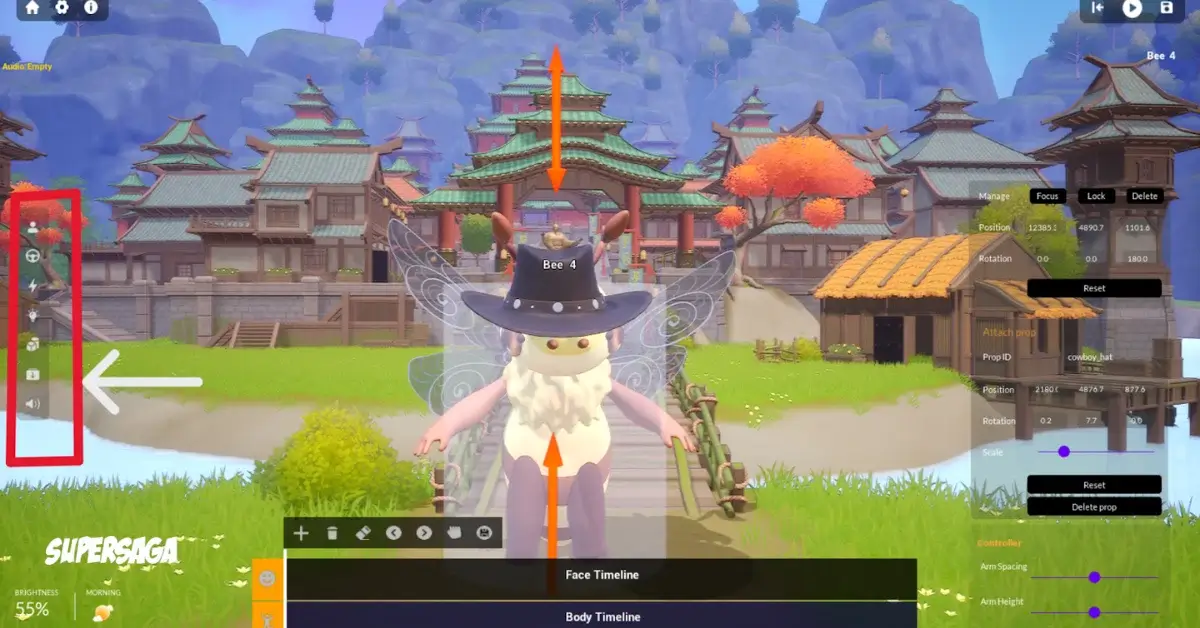
4. Basics to Manipulate the Scene
Once you enter the scene, you can:
Change Character Position
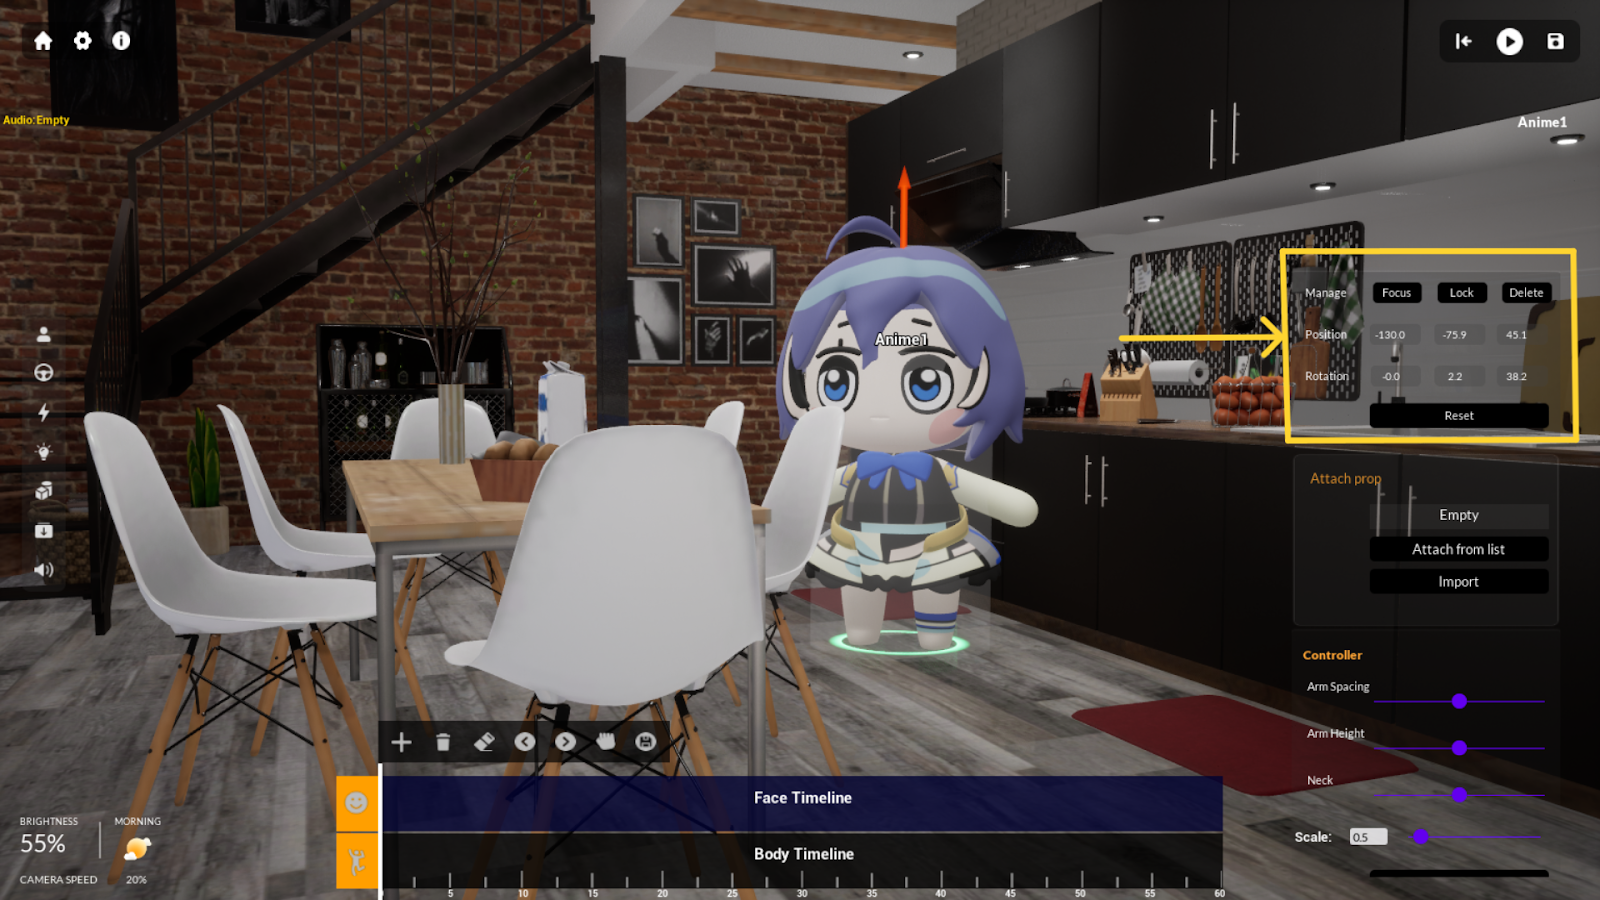
- Right-click and drag characters to change their position
- Alternatively, you can change position by providing X, Y, Z coordinates in the “position” box on the right edge of your screen.
- Click “Focus” to get a more focused view on the selected character.
- Hit “Delete” to remove selected characters from the scene.
Change Stance/Arm Positions of Character

- On the Controller Box, you can change the Arm Spacing, Arm Height, Neck Position and Scale of the character manually.
- Hit Reset to return to default settings.
Alter the Look of the Scene and Camera Speed

- In the bottom right corner, the weather icon helps you change the weather settings of the scene.
- Brightness controls the intensity of light in the scene.
- Camera Speed can be adjusted using the slider.
Exit, Save or Play the Scene

- Click the right-most “Save” icon to save all unsaved changes.
- Then, Click the middle “Play” icon to view your animation in play.
- Click the left-most “Exit” icon to exit the scene.
Edit Your Animation Timeline

There are 2 timeline options available:
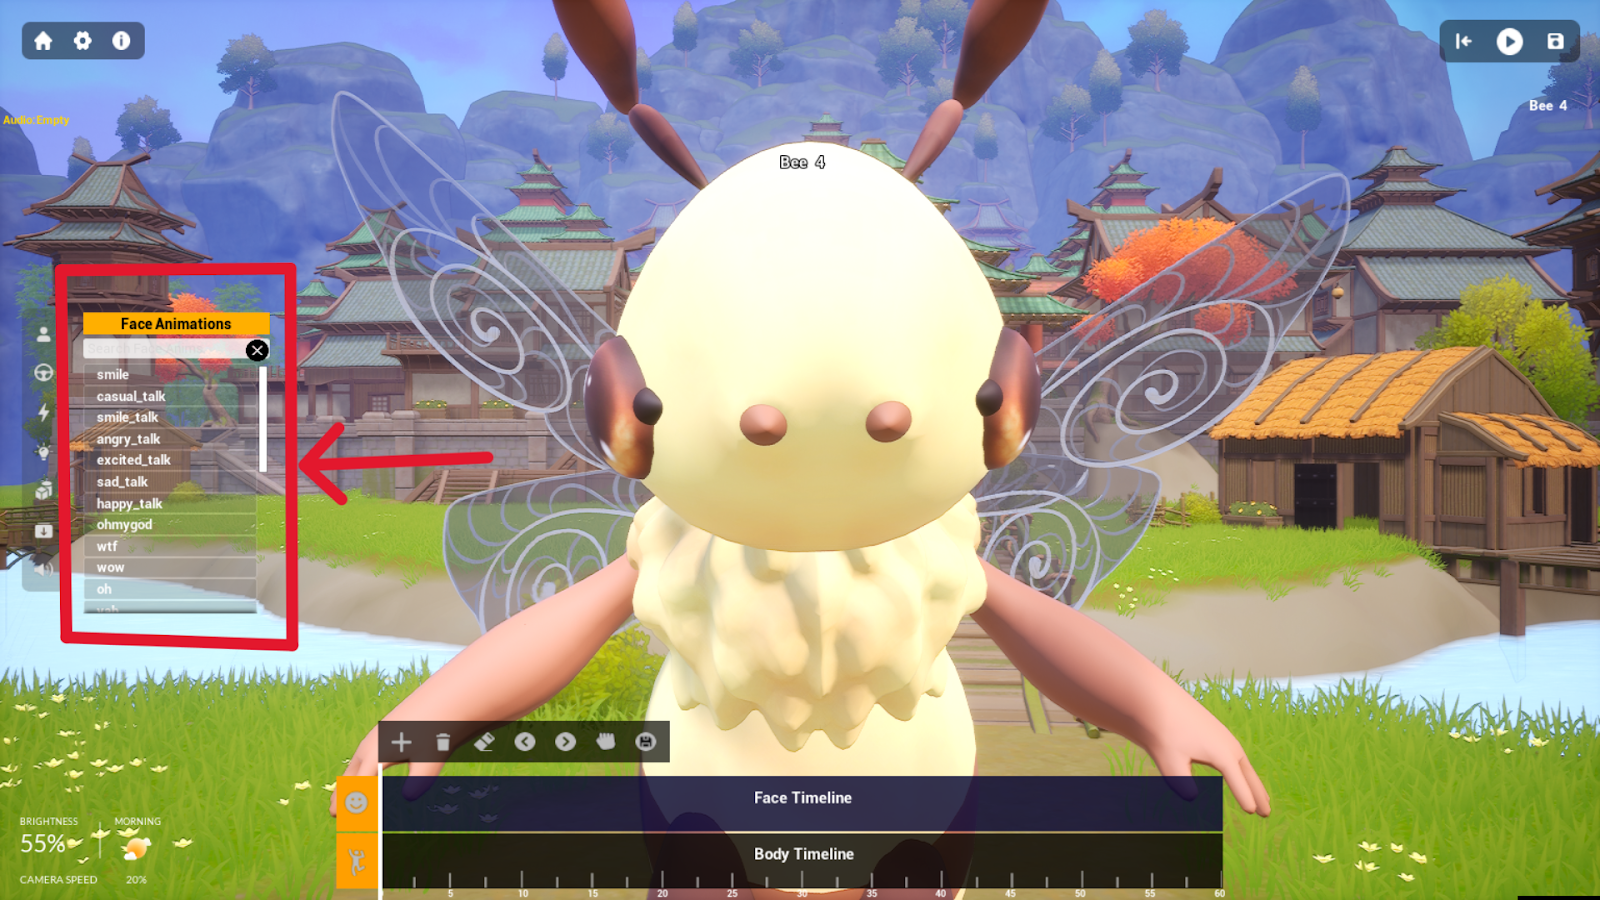
1. Face Timeline :
This is to edit/trim/add the facial expressions to your character. Click the Smiling icon to add facial animations. This can be done by:

- iPhone Capture: You can capture your live expressions to add it to your character via iPhone camera.
- Available Tracks: You can also select an inbuilt facial expression. Do this by selecting any desired option from the dropdown menu, or searching on the bar.
2. Body Timeline:
This is to edit/trim/add the body movements of your character. Click the Body icon next to the timeline to add body movements.

Furthermore, you can right click on your inserted action timeline to access the track options (split,left/right trim and speed) to personalize the movement/facial expression even more.
Attach Props To Your Character
To order props such as guns, hats, etc, follow these steps:
1. Under the “Attach Prop” menu, click “Attach from list” to access inbuilt props, or “Import” to import props from your system library.

2. From the “Attachable Props List” Dropdown menu, select your desired option and wait for it to load up.

3. In the bottom right corner of the screen, select which attachment point you want the prop to be attached to on your character.
4. You can further edit the position, rotation and scale of the prop from the “Attach Prop” toolbox.

The final outcome:

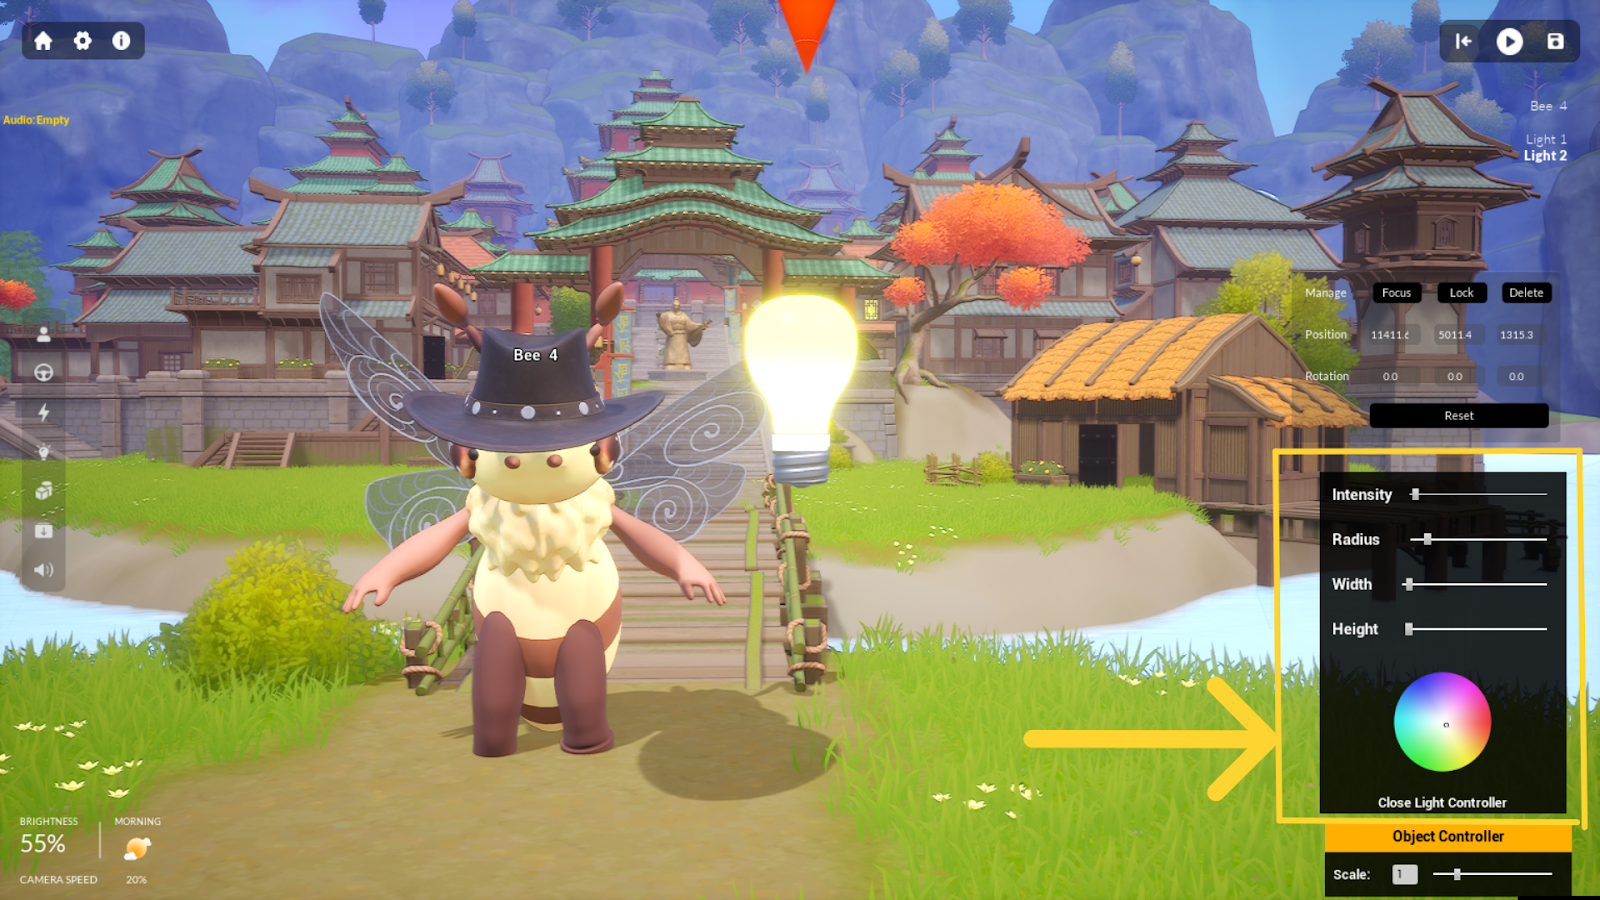
Light Up Your Scene
Select your character, on the left side menu, hit the bulb icon

Edit the intensity, position, colour, radius etc of the light bulb as per your wish.
5. Record your Animated Content
In order to record your final masterpiece, simply hit the “Play” button in the top right corner

Next, Press “H” to get rid of the UI and click Windows+G on your keyboard.

Once the game bar pops up, click the record icon to begin the system’s screen recording.
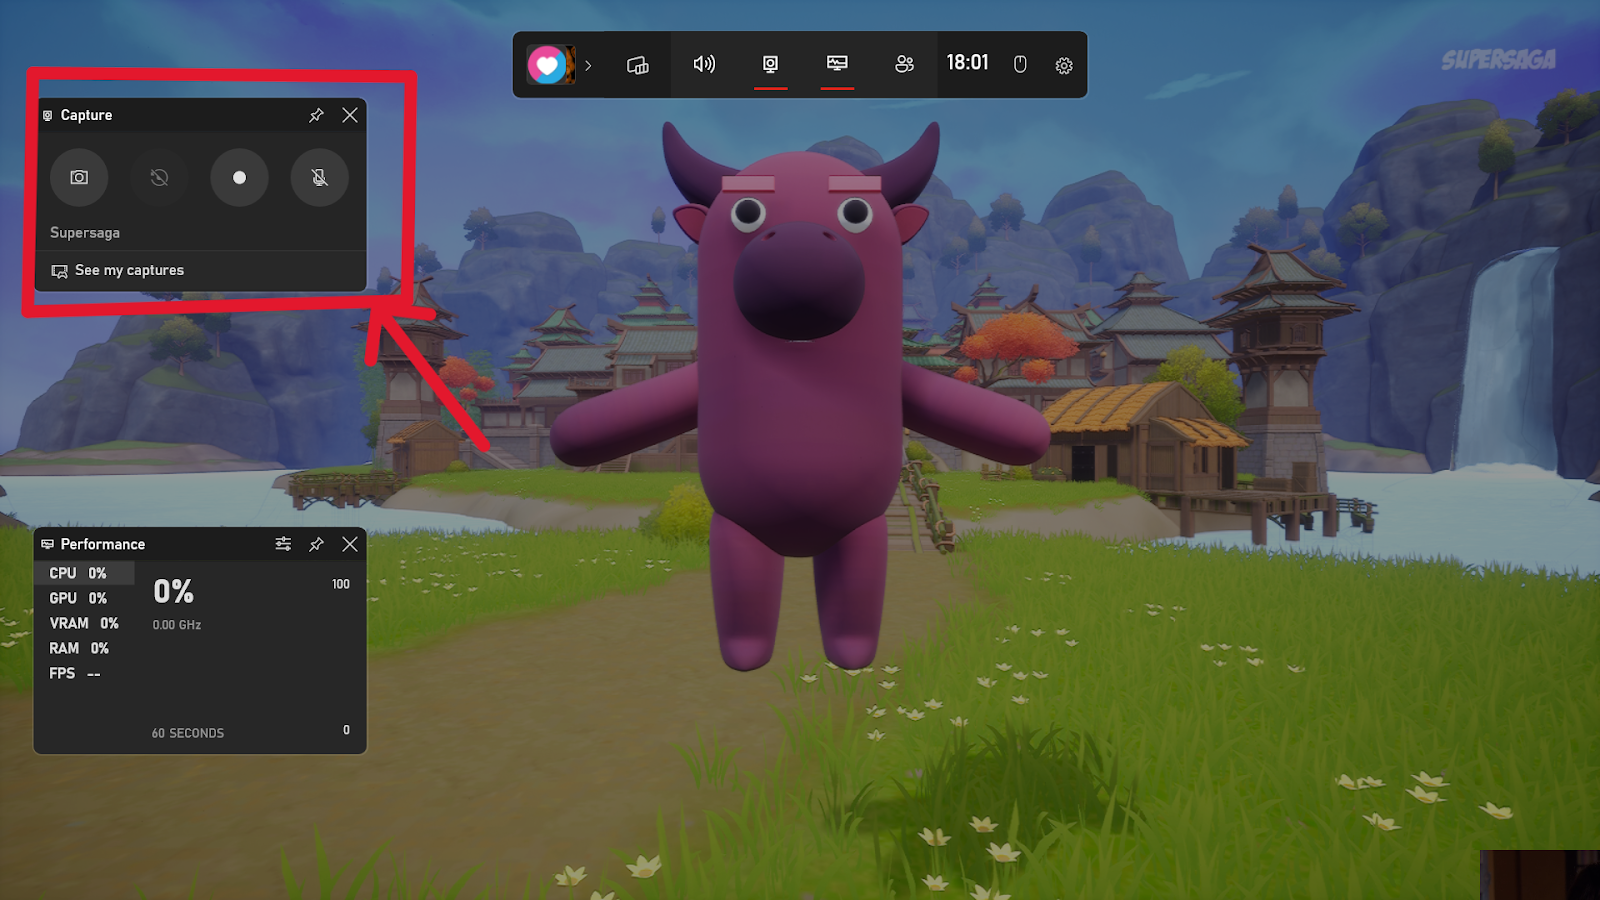
If you don’t have a game bar environment, use Windows+Alt+R to begin screen recording.

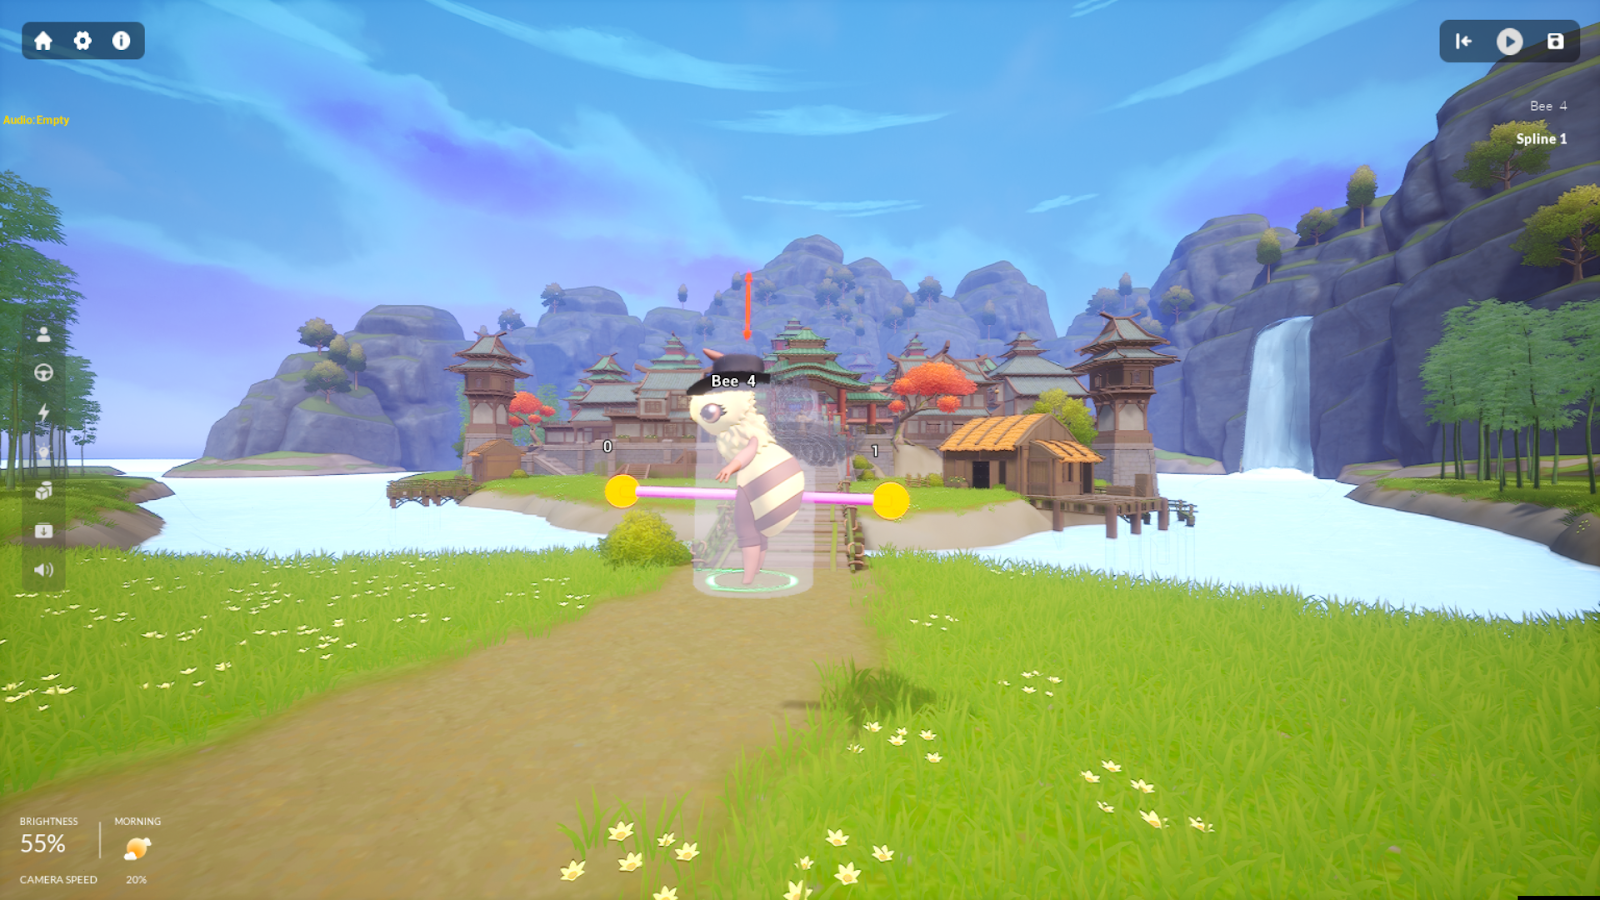
6. Add Spline to your Characters
- With your character selected, hit “V” on your keyboard to access the spline tool.
- Add a minimum of 2 spline points

- You can also alter the speed of the character travelling through the spline.

- Once you’re satisfied, hit play to get a preview.
7. Import .GLB 3D Models from anywhere
Browsing Sketchfab
To import your objects or models, head over to https://sketchfab.com
- Search for your desired character in the search bar

- In the filters, select Downloadable and Animated.

- From the results, pick your desired option (free or paid)
- Click on “Download” after viewing the model

- Select the GLB Converted Format

Heading Back to Supersaga
- From the left-edge menu, select the import icon

- Select the type of file you’re importing
- Browse the pop-up files window and choose the downloaded GLB file.
- Load it up onto the scene
- And you’re done!
System Requirements for Supersaga
MINIMUM:
- OS: 64-bit Windows 10
- Processor: Intel Core i5-4430 / AMD FX-6300
- Memory: 8 GB RAM
- Graphics: NVIDIA GeForce GTX 960 2GB / AMD Radeon R7 370 2GB
- DirectX: Version 11
- Network: Broadband Internet connection
Storage: 7 GB available space
RECOMMENDED:
- OS: 64-bit Windows 10
- Processor: Intel Core i5-6600K / AMD Ryzen 5 1600
- Memory: 16 GB RAM
- Graphics: NVIDIA GeForce GTX 1060 3GB / AMD Radeon RX 580 4GB
- DirectX: Version 11
- Network: Broadband Internet connection
- Storage: 10 GB available space
Get started ! Grab the app from our discord channel! Click here to get the app!